Assignment Workflow #
This guide describes how to set up an assignment in CS 61B.
Getting the Skeleton #
A video demo of this guide is available at this link.
The skeleton remote repository contains the skeleton code for all assignments.
Whenever a new assignment is released, or if we need to update an assignment,
you will pull from the skeleton. First ensure that you are in your sp23-s***
repository directory, then:
git pull skeleton main
This fetches all remote files from the repo named skeleton (which
is located at https://github.com/Berkeley-CS61B/skeleton-sp23.git) and copies
them into your current folder.
If you get an error similar to fatal: refusing to merge unrelated histories,
you can fix this each time by using
git pull --rebase --allow-unrelated-histories skeleton main
(If you’re working on Lab 1, go back to the lab spec at this point.)
Opening in IntelliJ #
The following instructions apply for every assignment. Each time after
pulling from skeleton to get new lab or project files, you will need to run
through the following steps again.
-
Start up IntelliJ. If you have no projects open, click the “Open” button. If you have a project currently open, navigate to “File –> Open”.
-
Find and choose the directory of your current assignment. For example, for Lab 1, you would select the
lab01directory inside yoursp23-***repo. -
Navigate to the “File -> Project Structure” menu, and make sure you are in the Project tab. Set your project SDK to your installed Java version. If 17 or higher isn’t available in the dropdown, make sure you downloaded and installed Java completely.
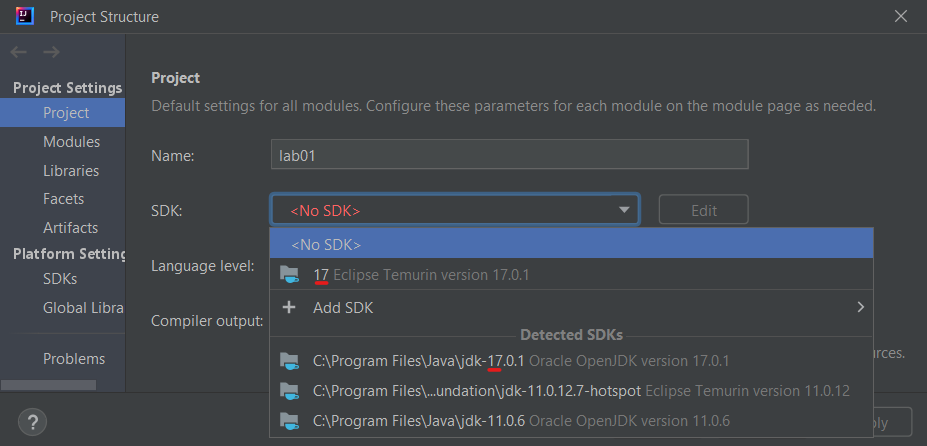
-
Still in the Project tab, set the Project Language Level to “17 - Sealed types, always-strict floating-point semantics”.
At this point, the Project tab should look something like this:
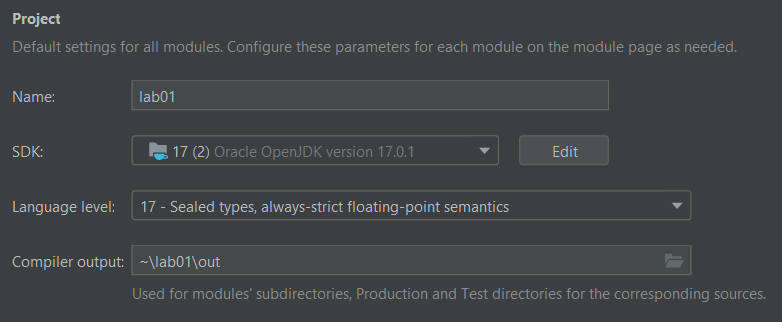
- The SDK is set to Java 17 or higher
- The Language level is at least 17, and at most the SDK.
- The Compiler output is filled in, and is set to the assignment
directory, followed by
out
-
Still in Project Structure, go to the Libraries tab. Click the “+ -> Java” button, then navigate to
library-sp23, select the folder, and click “Ok”. -
Click “Ok” to apply your settings and leave Project Structure.
At this point, if things have been configured correctly:
- Each Java file should have a blue circle next to its name.
- When you open any file, none of the code should be highlighted in red.
Submitting to Gradescope #
- Add your assignment directory using
git add. For example, for Lab 1, from your repo root (sp23-***) you would usegit add lab01. From the assignment directory, you could usegit add .. - Commit the files using
git commit -m "<commit message here>". The commit message is required. For example,git commit -m "Finished Lab 1". - Push your code to your remote repository with
git push origin main. - Open the assignment on Gradescope. Select Github, then your
sp23-s***repository and themainbranch, then submit your assignment. You will receive a confirmation email, and the autograder will run automatically.
Gradescope will use the latest version of your code from Github. If you think
that Gradescope isn’t grading the right code, check that you have added,
committed, and pushed with git status.
If you’ve gotten yourself into a situation where you’re unable to push for some reason, see https://sp23.datastructur.es/materials/guides/git/wtfs/.